Getting your face painted isn’t just for fairs and festivals! Face paint is a fun way to encourage dramatic play in kids- and helps them really get into character! Plus it’s just fun!
Foxes are very popular at our house- probably because we see them prowling around the yard after our chickens and ducks all the time! Or because of the love of watching the What Does the Fox Say video.
** This website contains affiliate links. If you make a purchase using one of these links, I may earn a commission. Please click here for more information about cookies collected and our privacy policy **.
Either way, fox face paint is often requested. Here are step-by-step instructions for creating a FOX with face paint!
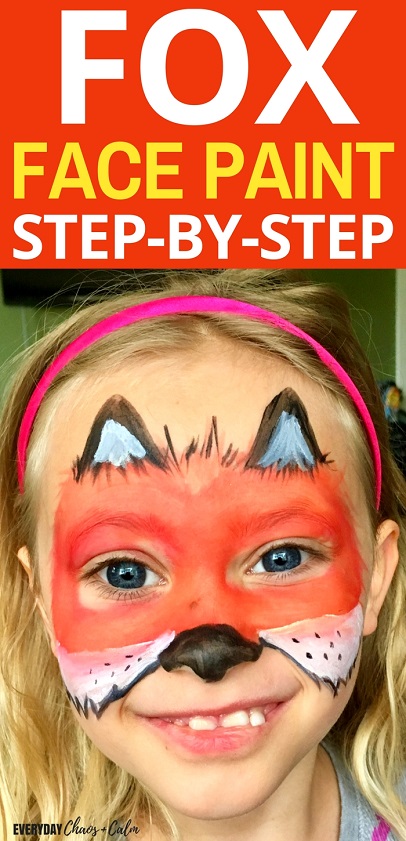
Step-by-Step Fox Face Paint Tutorial
To face paint a fox you will need the following:
Face paint in red, orange, black and white
A fine paint brush
water
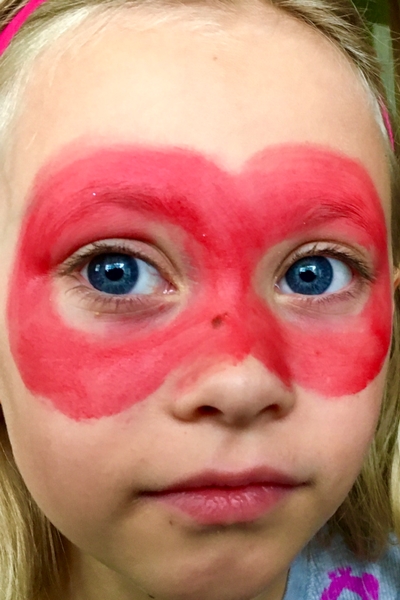
Step 1: Using a damp makeup sponge, create a base of red face paint around the eyes and upper cheeks.
You don’t want your sponge to be too damp or your color will be diluted too much. We will be covering this base with other colors and details, so don’t worry about making perfect edges.
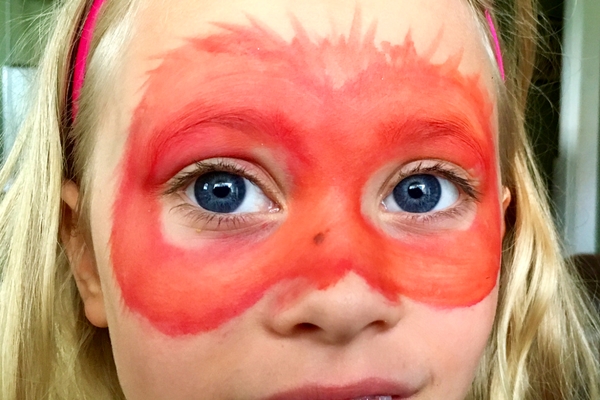
Step 2: Using the same sponge, blend orange face paint on top of the red to create a two-toned look.
Then move to a paint brush to soften the edges and create a fur-like appearance around the entire mask.
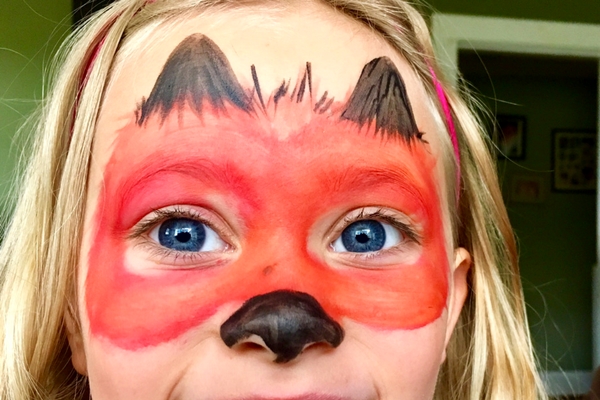
Step 3: Now it’s time to add the ears and nose!
Using your paint brush and black face paint, color the entire tip of the nose.
Then create 2 ears, using an upside down V-shape. Use the brush to paint downward strokes to fill in the ears.
Using light strokes, add a couple black “hairs” between the ears and around the outside of each ear.
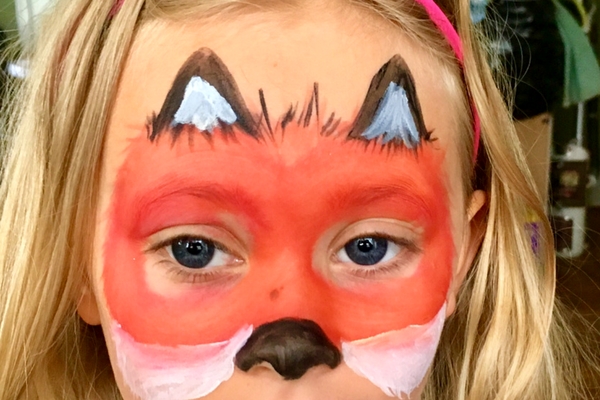
Step 4: Add the mask.
Wet your paint brush and cover it well with white face paint. In this step you will be covering some of the previously painted areas, so you need lots of paint for good coverage.
Start by drawing the outline of the lower mask in white. If should reach from the upper cheeks and nose down to just above the corners of the mouth. Fill it in with white paint, leaving the edges furry on the bottom and blending the top into the orange/red mask.
Next, fill in the middle of the ears with the same downward strokes. Leave some black visible on the edges and bottoms of the ears.
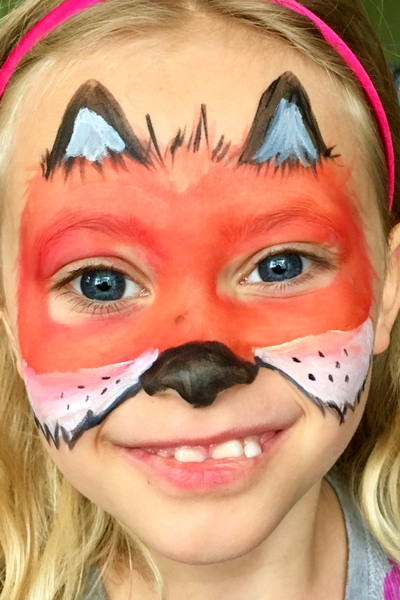
Step 5: Add accents.
Switch back to you black face paint and add whisker dots and a black furry outline to the bottom of the white mask.
And you’re done!
Alternative Fox Paint Design
Sometimes, if you are working with smaller kids, you need a design that can be painted really quick. This fox below has less small details and can be done a bit quicker than the one above.

To create this fox look:
Paint a layer of orange from forehead to lower cheeks.
Use a brush or sponge with a little yellow paint to blend it over the face. Don’t worry about edges- you want them furry.
Use black face paint to paint the nose, add whisker dots, and add a couple “hairs” around the edges.
Draw 2 simple V’s for ears and fill with white.
Want more face painting? Check out these 8 Simple Face Painting Ideas for Kids!
Or visit these tutorials: