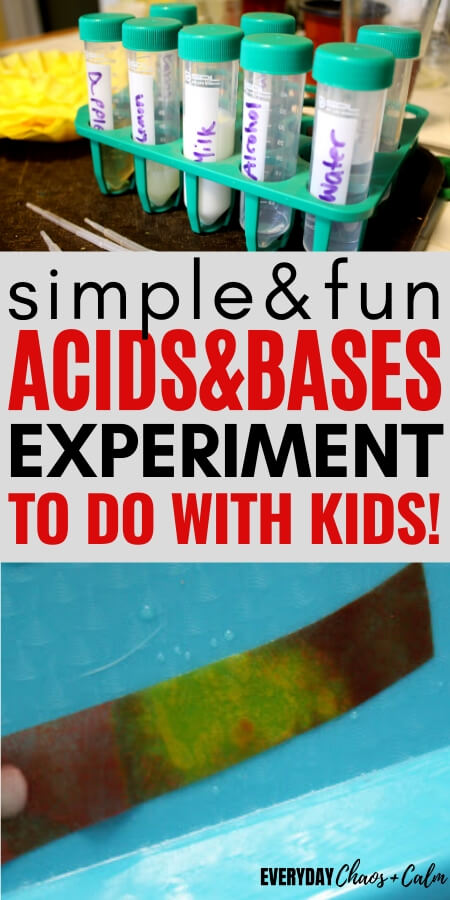
Looking for a fun science experiment to do with kids with ingredients you have at home? Try this acids and bases experiment to test household solutions and decided if they are acidic or basic.
I’ve always loved chemistry. I was the kid who asked for a chemistry set for Christmas and spent hours randomly mixing things in my bedroom.
** This website contains affiliate links. If you make a purchase using one of these links, I may earn a commission. Please click here for more information about cookies collected and our privacy policy **.
As a parent, I still love it! And I love doing fun experiments with my kids and watching them think through their guesses and see their amazement the first time they see certain reactions.
This is a simple chemistry experiment to do with your kids. It doesn’t require fancy ingredients- and you probably already have most of them on hand already!
Directions to Conducting an Acids and Bases Experiment with Kids
The basis of this experiment is to find out which solutions are basic and which are acidic. The amount of background information you give to your kids will depend on their ages and ability to comprehend.
It’s okay to talk in simple terms and in language and examples that they can understand.
I will add a section to the bottom of this article giving a little more information about acids and bases and how you can help your kids understand the difference. But for now, let’s get on to the science experiment!
Step 1: Make Turmeric Paper
The first thing you need to do is make turmeric paper. This is what you will use to test your solutions on to tell you if they are acids and bases.
To make turmeric paper you will need:
- 1/4 tsp powdered turmeric
- 1/4 cup rubbing alcohol
- coffee filters
Mix the alcohol and the turmeric is a bowl. Make sure it’s well mixed.
Dip the coffee filters in the mixture until they are completely saturated and very yellow in color.
Set the filters aside to dry- either hang them up or just set them on a cookie sheet or tray.

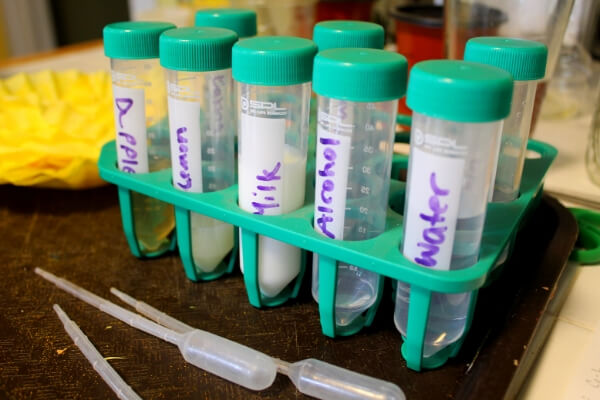
Step 2: Gather Your Supplies
While the filters are drying, gather the rest of your supplies. Here’s what you’ll need:
- a variety of solutions* (see below for ideas)
- test tubes or small jars to hold your solutions
- droppers/pipettes
- a tray (or pan) to contain mess
- Paper or white board to record observations
Not sure what kind of solutions to try? Here are a few ideas:
- milk
- lemon juice
- water
- rainwater
- fruit juices
- bleach
- vinegar
- peroxide
- alcohol
- saliva
- urine (if you’re really adventurous!)
- borax water
- baking soda water
- salt water
- sugar water
- bleach
- all purpose cleaner
- coffee
You get the idea. Basically anything liquid or that can be mixed with liquid to create a solution. Raid the fridge, cabinet, and bathroom for ideas!
Let your kids have fun with choosing solutions to test. That’s part of the fun of doing science experiments with kids!
*Note: You might be surprised at how many things are acidic. Make sure you have at least a couple basic solutions so you have red strips to test for acids. Baking soda water is a good base.
Step 3: Make Your Guesses (Hypothesis)
Making the hypothesis is an important part of every science experiment- even if you are doing an experiment with very young kids.
Give a little background information on what acids and bases are- I’ll get to that at the bottom of this article.
Then explain what you are going to be doing- deciding which solutions are acids and which are bases.
And finally, have your kids make guess as to what will happen and what the outcomes will be.
Write all of this down and then you can see how right you are!
Step 4: Test Acids and Bases
Now that you have all of your supplies, let’s get this experiment started!
Start by cutting your coffee filters into strips. They don’t have to be very big to conduct this experiment…just 2-3 inches long and an inch or less wide. Just make sure you have enough to test all of your solutions!
The basic experiment runs like this:
- Choose a solution
- Place a test strip on your tray
- Use a pipette to drip a drop or 2 of the solution on the test strip
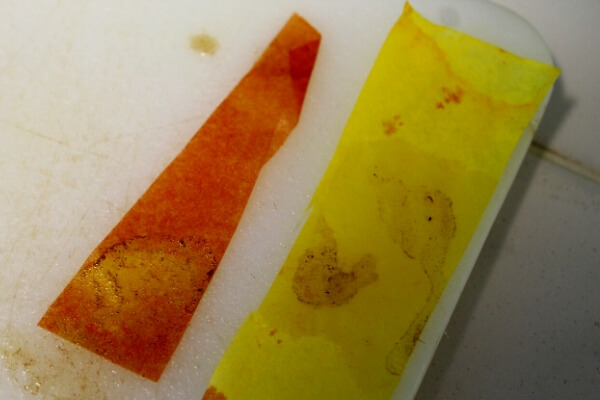
- Watch for a change in color
If the color of the test strip changes from yellow to red, your solution is a base! Write that observation down somewhere so you can keep track of which solutions are basic and which are acidic.
If you don’t see a color change- make a note of it and we’ll come back around and do more tests to see if we have an acid or a neutral solution.
Coffee didn’t turn the yellow strip red, but it did turn a red one back to yellow. It’s an acid!
Once you have done all of your solutions one time, it’s time to circle back around to all the solutions that are not basic and didn’t produce a color change.
For this part of the experiment, you want to test your remaining solutions on the strips that are ALREADY RED- meaning the ones you tested basic solutions on.
If your strip STAYS red, your solution is neutral.
If your strip turns back to YELLOW, your solution is an acid.
Write down your observations and create a list of neutral, basic, and acidic solutions.
At this point your kids may want to keep going. I know mine went back to the kitchen and bathroom to grab more solutions to test!
*Note: Be aware of cross contamination. Be sure to keep your strips apart from each other and your rinse your pipettes before using in new solutions. We had to wash our trays a couple of times as we kept testing solutions to keep everything separate!
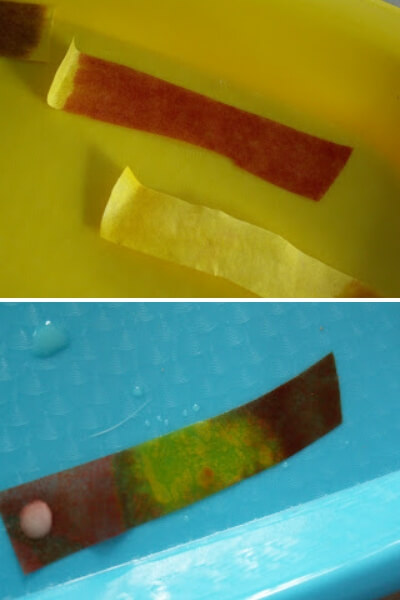
Top: Base turned the strip red; Bottom: Acid turned the strip back to yellow
Step 5: Results
Don’t just do a science experiment and leave without really looking at the information you learned!
By now you should have a paper or white board covered in both you hypothesis (guesses) and your actual results.
Where you correct?
Were you surprised by any of the results?
Can you research your results and see if the experiment went wrong at any point and provided inaccurate results?
More on Acids and Bases:
As I mentioned, the amount of background information will depend on the ages of your kids. But here’s a little more about acids and bases and how you can help your kids understand what they are.
Let’s start with the definitions:
- Acids (Acidic Solution): A substance that can donate a hydrogen ion or proton and has a pH of less than 7.
- Bases (Basic Solution): A substance that can accept a hydrogen ion and has the pH of more than 7.
- Neutral: A substance that is neither acid or basic and has a pH of 7.
- pH Scale: The scale that measures how acidic or basic a solution is. It runs from 0-14, with 0 being the most acidic and 14 being the most basic.
It can be helpful to talk about acids and bases in terms you kids might already know.
Talk about things like stomach acid, acid rain, acid like they might see in cartoons that “burns”.
You can also talk about some of the characteristics of acids and bases. Such as:
ACIDS:
- Sour tasting
- Can feel tingly on the skin
- Can corrode metal
BASES:
- Bitter tasting
- Slippery or soapy feeling on the skin
You can also note that acids and bases help to neutralize each other.
And on a final note, be sure to note that there are varying degrees of acids and bases and that you should always exercise caution when dealing with them since both strong acids and bases can cause skin irritation.
More Science Experiments You Might Like:
Simple Chemical Reaction Experiment


great work
thank you for sharing
I will try with my kids